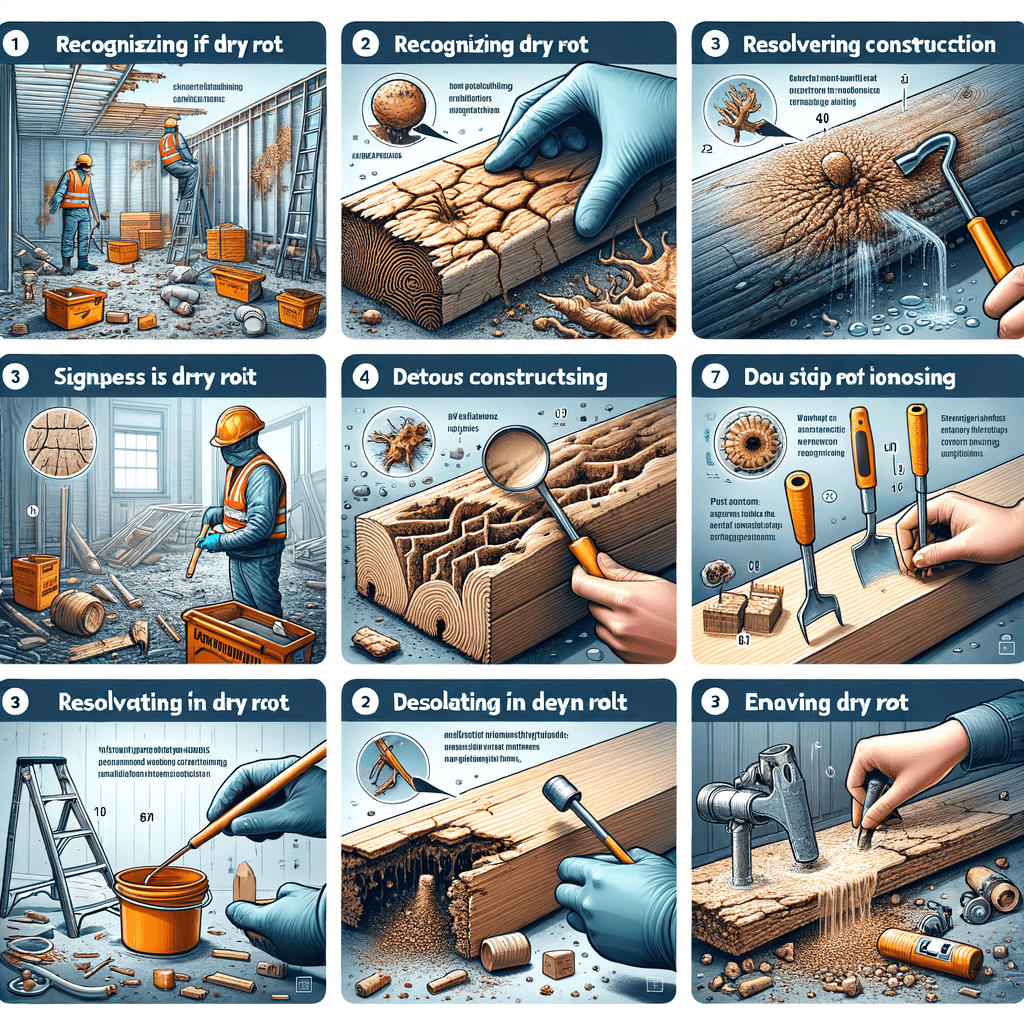
The Ultimate Guide to Identifying and Remedying Dry Rot in Construction
Understanding Dry Rot: What Is It?
Dry rot is a term that sends shivers down the spine of many property owners and prospective buyers. Scientifically known as Serpula lacrymans, dry rot is a type of wood decay caused by certain species of fungi that digest parts of the wood which give the timber strength and stiffness. Unlike wet rot, which requires a high moisture content to thrive, dry rot can spread through relatively dry timber, making it particularly insidious.
The Lifecycle of Dry Rot
To effectively combat dry rot, it’s crucial to understand its lifecycle. The fungus starts as microscopic spores that are omnipresent in the environment. When these spores land on a damp surface, they germinate and produce hyphae, which are thread-like structures that penetrate the wood. As the hyphae grow, they form a mycelium, a white or grey cotton-wool-like mass that spreads across the wood. Eventually, the mycelium produces fruiting bodies that release more spores, perpetuating the cycle.
Conditions for Growth
Dry rot requires specific conditions to thrive:
– Moisture: Although termed “dry” rot, the fungus needs a moisture content of around 20% in the wood to start growing.
– Oxygen: Like most fungi, dry rot requires oxygen to survive.
– Temperature: Optimal growth occurs between 22°C and 26°C, but it can grow in a range of 5°C to 40°C.
– Nutrients: The fungus feeds on the cellulose and hemicellulose in wood.
Identifying Dry Rot: Signs and Symptoms
Early identification of dry rot is crucial to prevent extensive damage. Here are the key signs to look out for:
Visual Indicators
- Mycelium Growth: Look for white or grey cotton-wool-like growths on the wood. In some cases, the mycelium may appear yellowish.
- Fruiting Bodies: These are rust-coloured, pancake-like structures that release spores. They often appear in late stages of infestation.
- Cracked Wood: Affected wood may show deep cracks running across the grain.
- Discolouration: The wood may appear darker than usual or have a bleached appearance.
- Shrunken Wood: The wood may shrink and become brittle, crumbling easily when touched.
Smell
Dry rot often produces a distinct, musty, and damp odour. If you notice an unusual smell in your property, it could be a sign of dry rot.
Structural Indicators
- Bouncing Floors: If the floors feel bouncy or springy, it could indicate that the underlying timber is compromised.
- Warped Doors and Windows: Difficulty in opening or closing doors and windows can be a sign of structural timber decay.
Diagnosing Dry Rot: Professional Assessment
While initial identification can be done by the property owner, a professional assessment is essential for an accurate diagnosis. Surveyors use various tools and techniques to confirm the presence of dry rot:
Moisture Meters
These devices measure the moisture content in wood. A reading above 20% is a red flag and warrants further investigation.
Borescope Inspection
A borescope is a small camera that can be inserted into cavities and voids to visually inspect hidden areas for signs of dry rot.
Laboratory Analysis
In some cases, samples of the affected wood may be sent to a laboratory for fungal analysis to confirm the presence of Serpula lacrymans.
Remedying Dry Rot: Step-by-Step Guide
Once dry rot is confirmed, immediate action is required to prevent further damage. Here’s a step-by-step guide to remedying dry rot:
Step 1: Identify and Eliminate the Source of Moisture
The first and most crucial step is to identify and eliminate the source of moisture. This could involve:
– Repairing Leaks: Fix any leaks in the roof, walls, or plumbing.
– Improving Ventilation: Ensure proper ventilation in areas prone to dampness, such as basements and attics.
– Damp Proofing: Consider installing a damp-proof course or membrane to prevent rising damp.
Step 2: Remove Affected Timber
All affected timber must be removed and disposed of properly. This includes not only visibly damaged wood but also any timber within a one-metre radius of the visible damage, as the fungus can spread beyond what is immediately apparent.
Step 3: Treat Remaining Timber
The remaining timber should be treated with a fungicidal treatment to kill any residual spores. There are various types of treatments available, including:
– Boron-Based Treatments: These are effective and environmentally friendly

